Hand Painted with Angelus Leather Paints


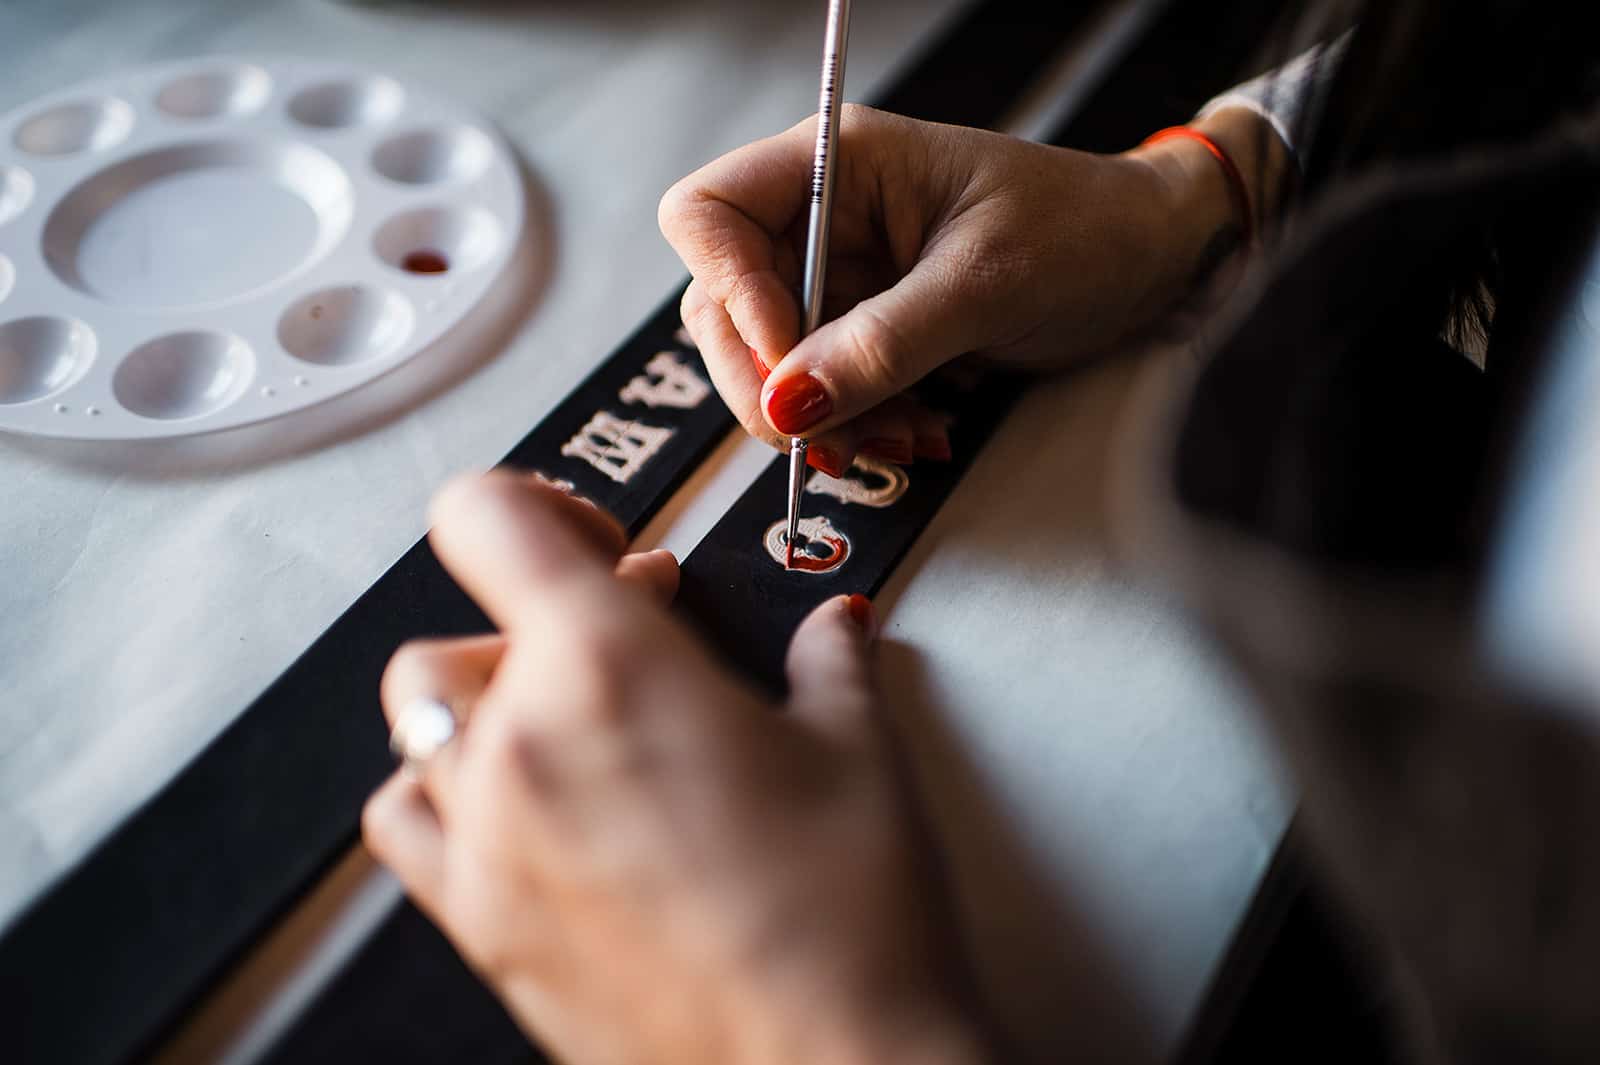
Hand painting custom designs is a long process, and one I find very therapeutic. You will often find me in my workshop with a bluesy tune playing, while I meticulously paint using a wisp of a paintbrush. I can see why artists get absorbed into their paintings over months and years.

I often get asked about hand-painted custom designs and how I get my whites so bright and my colours to really pop…. the secret isn’t a secret at all.

It’s using the right tool for the job.

Angelus Leather paints are my go-to for almost all my hand-painted custom leather creations. I’ve tried plenty of other products, and while Fiebings paints are a backup solution, my main man is Angelus (and no, this post is not sponsored – but hey Angelus if you are reading this you could always help a sister out with a few bottles!)

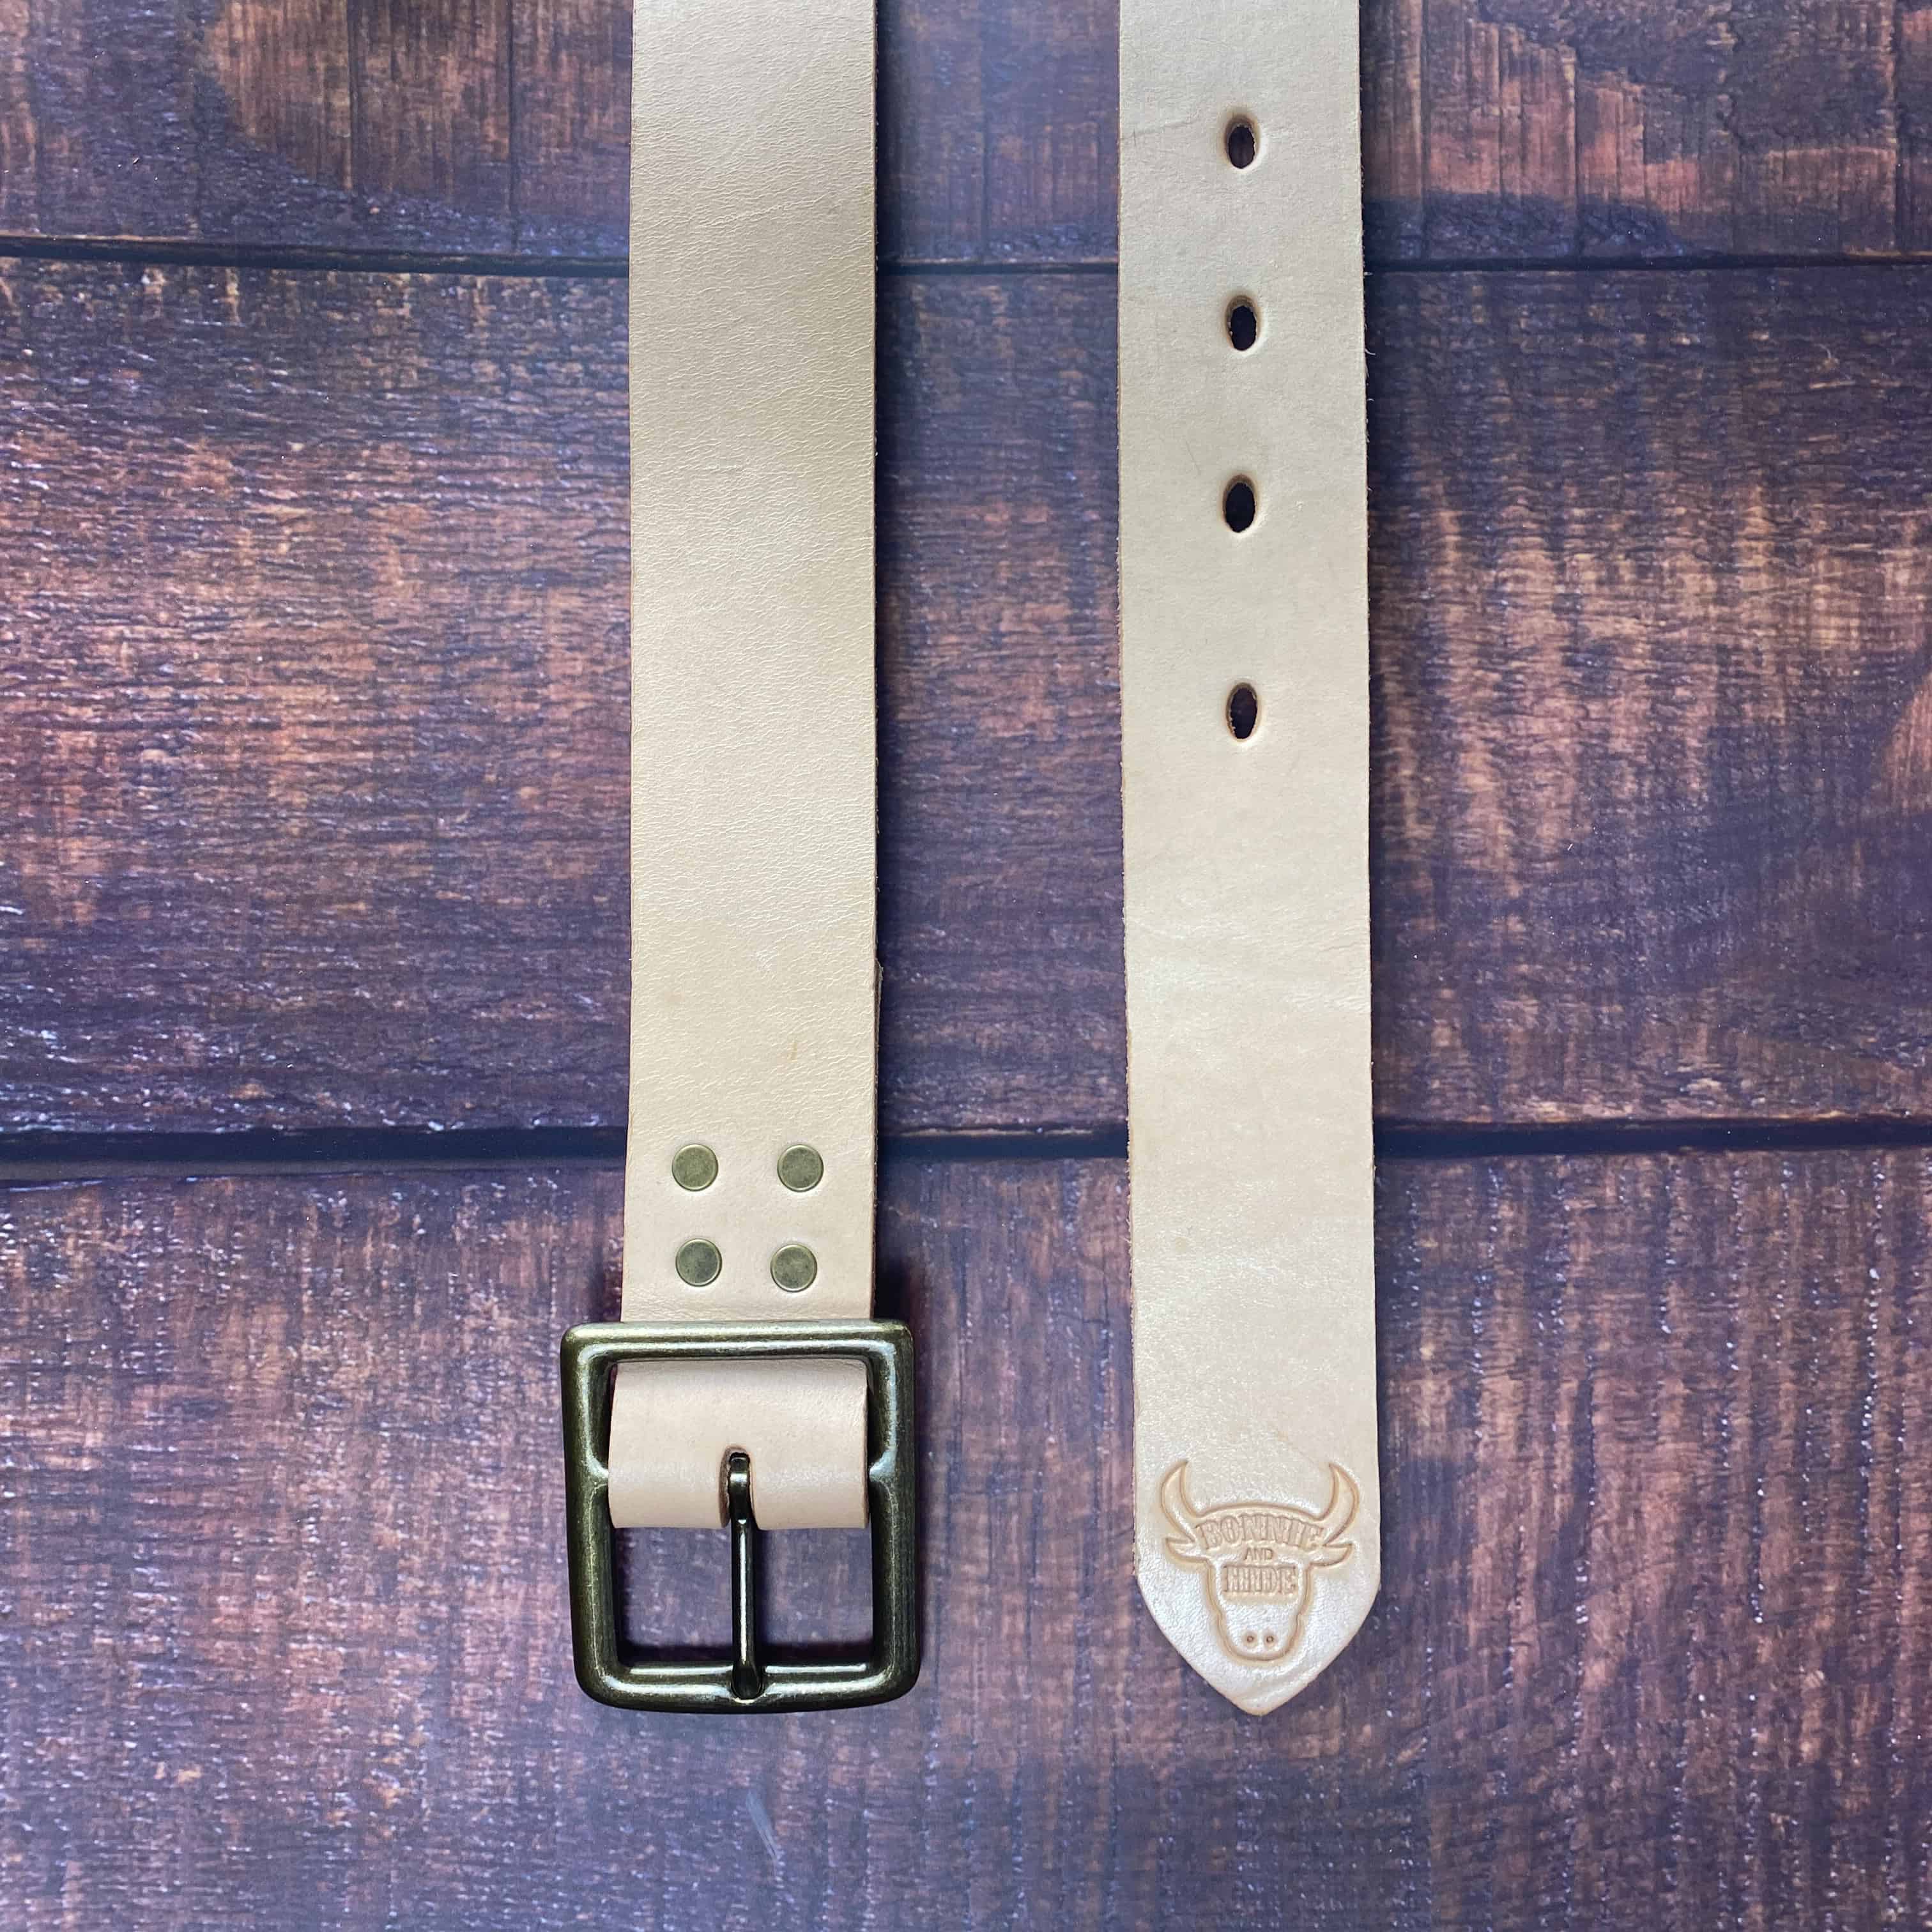
The key to success and to really get those whites to pop is starting with a great base. Clean and free from any debris. I mainly work with veg tan, so my base is often a pale cream, or slightly tan depending on the ageing process I have put the leather through.

I apply thin coats, sometimes up to three times to get that really white look. I’ve tried using a spray gun but still end up coming back to the hand-painted technique. It seems to give the best coverage in the end.
Patience is key people…. let it go a few hours between coats, and you will find it adheres to the last layer better.

How do you help Angelus metallic paint pop on white leather?

I always use a solid thinned down colour of the metallic paint I am using as a base. So if I am using the pale purple metallic, I use a light coat of a regular pale purple first. This helps give it a base for the metallic to shimmer on without taking away from the desired colour.

How many coats of Angelus are too many?

I wouldn’t ever go over three. The paint starts to get a thickness about it that can succumb to cracking. This depends on the actual piece too. A belt being worn day in day out will need more care than say a flat cover on a book that is kept flat and smooth throughout its life.

So thats my little tip for all the budding leather artists out there. Get your hands on Angelus paints on their website. They have a ridiculously huge range to suit every rainbow!

Angelus Paints

How to Measure Your Belt

It may sound simple but trust me, when I was starting out I made plenty of custom belts that took hours of work only to get a message to say the belt didn’t fit!

Ive read plenty of instructions and guides and I still believe that the only true way to measure your belt is to do it the good Ol’ fashioned way with a tape measure.

I know, I know, you know your pants size… well let me let YOU in on a little secret..

Its not the same measurement as your belt size. Go on, go and check.

As a general rule your belt size is bigger than your waist, but lets not risk it and just measure instead.

Take a belt you already wear and measure as per our diagram below, that way neither of us will have to have a little cry when your custom belt has to become a nice wall hanging because its too small.

If you don’t currently have a non-stretchy belt that fits you well, use a cloth tape measure to measure the circumference of your waist (WITH pants on). Put the tape measure through the belt loops on your pants and pull it just a LITTLE snug. Note the measurement to the nearest inch (and again, round up if right on the half-inch).

The measurement you get with either of these methods is the size belt you should order, and will likely be larger than you think your waist is — this is normal. In most cases, a person’s measured circumference around their pants and through the belt loops, is 3″ to 6″ greater than their pants size.


measure your belt diagram

Wet Wallet Fix


My wallet went through the wash! i fell in the pool with my wallet! What should I do?


Don’t stress too much. Although leather doesn’t love water, it’s likely your wallet may not be ruined just yet.

Take the wallet out and lay it in a warm spot outside, avoiding direct sunlight.

Direct sunlight isn’t bad for it, it will just give the leather a nice patina, but if you don’t want the wallet ageing, pop it in a shady spot.

Don’t mess around with the leather too much and definitely don’t pull or stretch it unnecessarily. Wet leather will stretch and warp very easy.

Let the wallet dry completely. It’s going to be a lot more ridged and stiff due to the water logging it copped and it’s loss of natural oils.

Grab yourself a tin of our leather balm here and give that wallet a good old dollop of balmy love. Rub it in to the entire wallet, inside and out.

Let the wallet rest for a couple of hours to soak the oils back in. If the wallet still feels dry and rigid then you can apply a second coat.

The method above won’t always save a drowned wallet, but it’s the best chance you will have of brining that sucker back to life.

And next time, try to stay away from the pool and check your bloody pockets before washing!